Communications are the information that administrators want to convey to students via the platform. They can cover a variety of topics, including important announcements, course updates, events, company policies and much more. This functionality allows administrators to keep students informed of the latest news and developments.
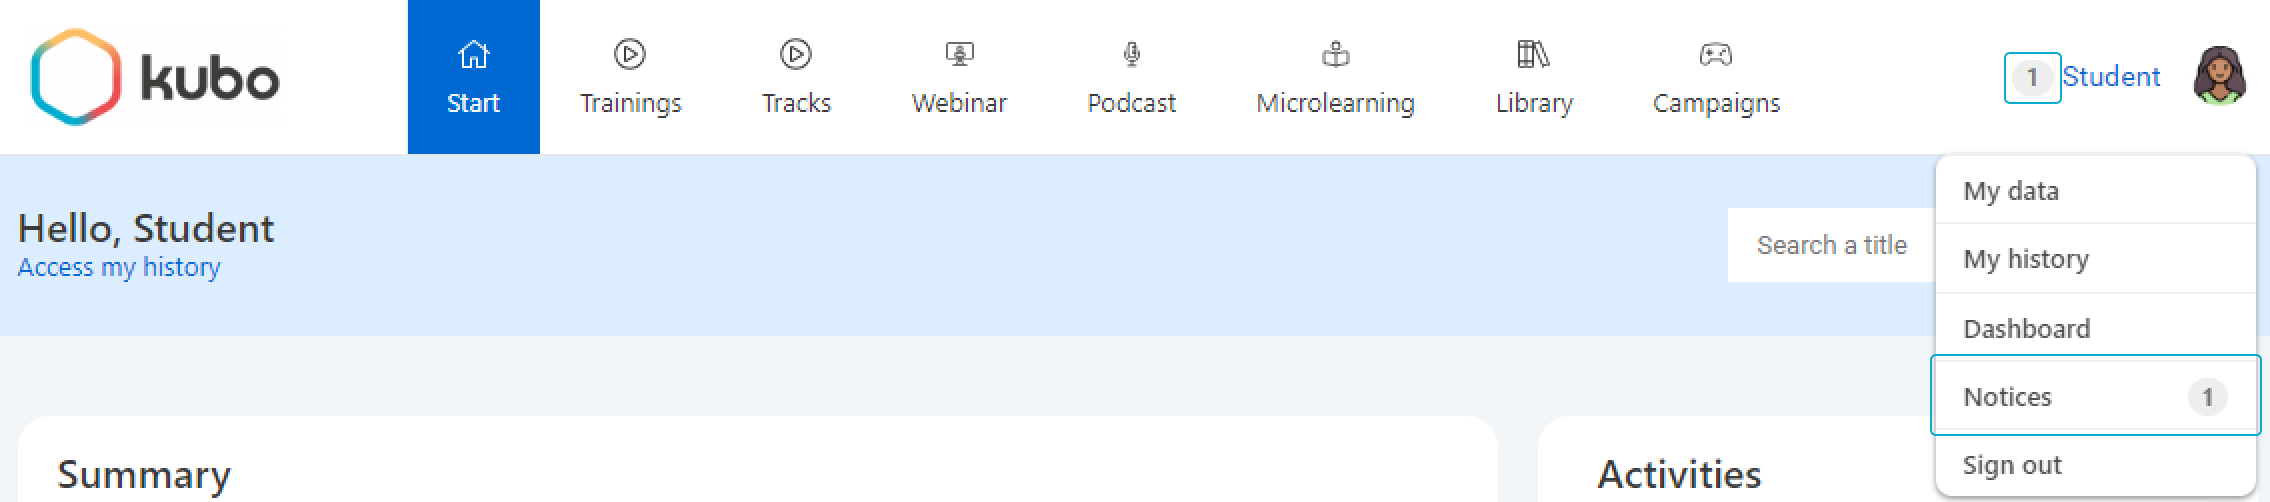
When students access the platform, notice notifications will appear next to their names to inform them of the presence of new communications.
Instructions
To register a communication, follow the steps below:
-
Click on Communications on the main menu
On the next screen, you will see the list of releases, with the ID, the title, the entry date (when it started) and the exit date (when it will expire).
-
Click on the To Register button icon located in the upper right corner
-
Fill in the required fields (all are mandatory) as instructed below:
|
Notice Title |
Enter the title of the communication. |
|
Message |
Enter the message you wish to convey in the communication. |
|
Select a recipient |
Select the recipient of the communication. When you make the desired selection, new fields will appear for you to fill in. |
|
Date for submission and availability |
Enter the date when the communication will start to be viewed by the recipients. |
|
Time for submission and availability |
Enter the time when the communication will begin to be viewed by the recipients. |
|
Removal date |
Enter the date when the communication will no longer be viewed by the recipients. |
|
Removal time |
Enter the time when the communication will no longer be viewed by the recipients. |
|
Want to add an image? |
Check the option to attach an image to the communication, or keep the box unchecked to not send it. When you check the option, upload the image in the accepted formats. |
-
Click Save to register the release registration
To edit the registration or delete a communication, locate it in the list, click on the Select option, click on the To Change option, and the screen will open:
-
To edit, change the desired fields and click Save.
-
To delete, click on the 🗑 icon located in the upper right corner.